What Are the Best Flat Roof Lanterns?

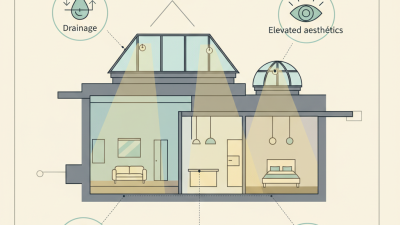
The best flat roof lanterns are not simply the largest or brightest. They suit the roof structure, room, and local weather. A kitchen may benefit from a broad opening above an island, while a narrow hallway often needs a more compact design. Look closely at frame material, glazing performance, drainage details, and the quality of the installation.

One practical principle for this guide comes from fictional rooflight consultant Alex Morgan: “Choose the lantern for the room and roof first; compare the frame and finish second.” This is an original illustrative quote, not a sourced interview. It points to a real decision: a slim frame can increase the visible glass area, but appearance alone cannot show how well a unit manages heat, rain, or condensation. Ask suppliers for clear specifications, warranty terms, and installation guidance. Check that the proposed opening works with the roof’s structure.

Small details matter. Check the kerb height, opening mechanism, and how rainwater will drain around the lantern. Fixed glazing may suit a room that already has good ventilation. An opening model can help release warm air, though its controls and upkeep deserve attention. Details vary.

There is no single best option for every project. A bright showroom display can look convincing, yet a roof’s orientation and surrounding buildings change the light indoors. Even the right product can disappoint if the fitting is rushed. This guide compares the main choices, explains what specifications mean, and highlights questions worth asking before you buy. It also leaves room for a useful doubt: bigger glass is not always better.
What Are the Best Flat Roof Lanterns?

Understanding Flat Roof Lanterns and Their Main Designs

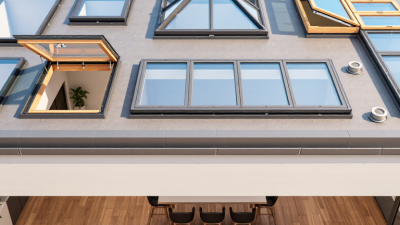
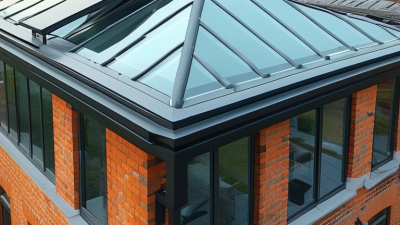
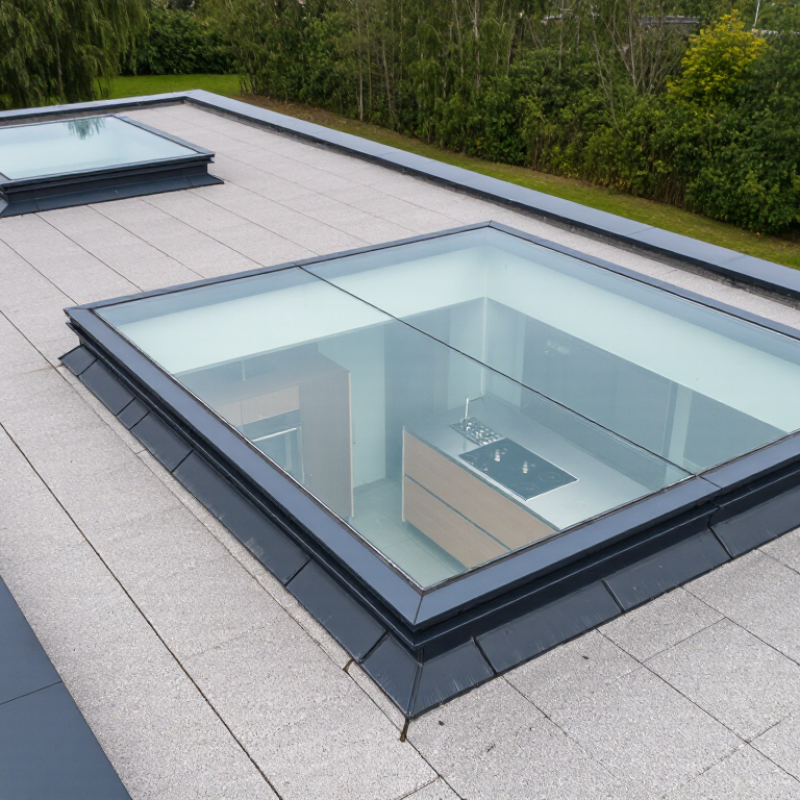
Flat roof lanterns are glazed structures set above a flat roof, bringing daylight into rooms beneath. Their shape affects both the look of a space and how light enters it. Common designs include pyramidal lanterns, which rise to a central peak, and ridge-style forms, with two sloping sides meeting along a roofline. Low-profile rectangular designs suit simpler roof layouts, though their frames can interrupt views.

Details matter. A lantern’s frame, opening method, and glazing all influence performance. Fixed units offer uninterrupted glass, while opening sections can help release warm air. When comparing options, check whole-unit thermal performance rather than glass specifications alone. Also consider orientation: strong afternoon sun can cause glare and overheating, even in a bright, attractive room. The fit around the roof opening matters too; poor detailing can create moisture problems.

The scale of energy use makes these choices worth careful attention.

UNEP and the Global Alliance for Buildings and Construction reported that buildings accounted for 34% of global energy demand and 37% of energy- and process-related carbon dioxide emissions in 2022. That figure covers buildings broadly, not roof lanterns specifically, but it underscores why daylight and heat loss deserve equal consideration.

A large glazed area may brighten a dim hallway; it may also need thoughtful shading and insulation. There is no universally best shape. The right design depends on the room, roof structure, and local exposure.
How Frame Materials Affect Strength, Light, and Appearance

What Are the Best Flat Roof Lanterns?
How Frame Materials Affect Strength, Light, and Appearance

Frame material changes more than a lantern’s style. It affects structural support, thermal movement, and how much glass fits within the opening. ASHRAE’s Handbook—Fundamentals lists aluminum’s thermal conductivity at roughly 160–205 W/m·K, compared with about 0.12 W/m·K for wood. These are material-level figures, not whole-frame performance ratings. Still, they explain why an unbroken metal frame can conduct heat quickly. A well-designed thermal break helps interrupt that path. Details matter.

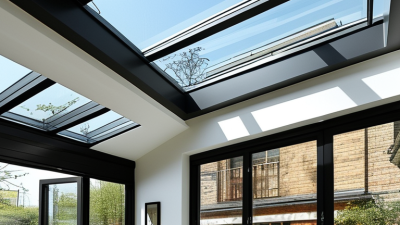
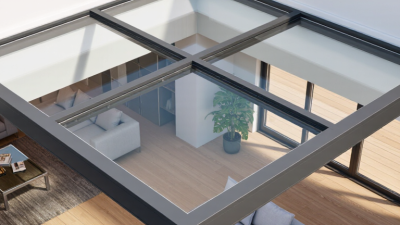
Aluminum often allows narrow sightlines, so more sky remains visible from below. Its strength can support large glazed sections, but the roof structure must still be checked for the project’s loads. Timber feels warmer indoors and offers a natural finish, though exposed surfaces need careful detailing against moisture. uPVC can provide insulation without much upkeep, but thicker profiles may reduce the visible glass area. A slim frame is not automatically the best frame. The National Fenestration Rating Council rates complete fenestration products by U-factor and solar heat gain coefficient, making those ratings more useful than comparing frame materials alone. Ask for the tested whole-unit figures, and check how the frame, glazing, and thermal break work together. I would not judge by appearance alone. A beautiful lantern can still feel cold at its edges.

Key Factors for Choosing the Best Flat Roof Lantern

What Are the Best Flat Roof Lanterns?

Choosing a flat roof lantern starts with the room below it. Measure the roof opening carefully, then consider how much daylight and ventilation the space needs. A larger glazed area can brighten a dim kitchen, but it may also increase heat gain and glare. Think about the room’s orientation and how sunlight moves across it during the day.

Check the glazing’s insulation and solar-control performance, not just its appearance. Double or triple glazing may suit different climates and roof constructions; compare the stated thermal values. A thermally broken frame can help limit heat loss around the edges. Also check that the design includes suitable drainage, weather seals, and a roof pitch that allows water to run off. Wind exposure matters. So does installation quality. Even a well-made lantern can leak if the opening or flashing is poorly prepared.

Tips: Ask an installer to inspect the roof structure before ordering. Confirm how the lantern will be cleaned and whether opening controls are easy to reach. Request written details for glazing, installation, and warranty coverage. Small details count. I’d be cautious about choosing by price alone; it’s tempting, but I’ve seen how an awkward fit can spoil an otherwise bright room.

Comparing Energy Efficiency, Weather Resistance, and Security

What makes a flat roof lantern perform well is not just its glass area. The U-factor indicates how readily heat escapes; a lower value generally means better insulation. The U.S. Department of Energy’s Energy Saver guidance estimates that windows can account for 25–30% of a home’s heating and cooling energy use. That figure is not specific to roof lanterns, but it shows why glazing and frame choices matter. Check the lantern’s whole-unit ratings, not glass specifications alone. Small detail, real impact.

Weather resistance depends on the frame, seals, drainage paths, and the way the unit connects to the roof curb. Ask for independently tested air, water, and structural performance, such as testing under the AAMA/WDMA/CSA 101/I.S.2/A440 fenestration standard. A low-profile design can still leak if flashing is poorly fitted. Water always finds the awkward corner. Installation quality deserves as much scrutiny as the product sheet.

Security starts with tough glazing and reliable locking hardware. Laminated glass can remain bonded to an interlayer after cracking, making entry more difficult than with basic single glazing. Yet no glass specification makes a roof opening invulnerable. Review the installer’s details for secure fixings, accessible roof edges, and maintenance access. I would also ask how seals can be inspected later; this is easy to overlook when comparing showroom samples.

What Are the Best Flat Roof Lanterns?

Comparing energy efficiency, weather resistance, and security

Energy efficiency: The chart shows representative centre-pane thermal transmittance (Ug) values in W/m²K; lower values indicate less heat transfer. Typical values vary with glass build-up and specification, and are not whole-lantern ratings. Compare the complete unit’s declared Uw value for a fair product comparison.

Weather resistance and security: Check the complete lantern’s tested air permeability, watertightness, and wind-load performance (for example, EN 12207, EN 12208, and EN 12210). For security, look for suitable laminated glazing and independently tested resistance where available, such as an EN 1627 classification. Performance depends on the full assembly and installation.

Installation and Maintenance for Long-Term Performance

Long-term performance starts with a sound roof opening, not just good glazing. The supporting curb should be level, rigid, and high enough for the roof build-up. Installers must connect the lantern’s flashing to the waterproof membrane, keeping corners and joints watertight. Small gaps matter. A neat interior finish can conceal a weak external seal, so inspect the perimeter before it is covered.

The U.S. Department of Energy reports that windows account for 25–30% of residential heating and cooling energy use. This is a broad glazing benchmark, not a roof-lantern-specific figure. It still highlights why correct glass specification, sealed joints, and careful installation matter. Ask the installer to record the glazing specification and check for condensation after fitting. Not every foggy pane means failure, but moisture trapped between panes needs prompt assessment.

Check seals, flashings, and drainage channels at least twice a year, and after severe weather. Clear leaves and grit by hand; blocked outlets can leave water standing around the frame. Look for cracked sealant, loose fixings, staining, and damp plaster below. Use the maker’s approved cleaning method, since abrasive pads can scratch coatings. Keep dated inspection notes. They make gradual changes easier to spot.

What Are the Best Flat Roof Lanterns? — Installation and Maintenance for Long-Term Performance
Lantern Type Typical Strengths Key Installation Considerations Routine Maintenance Best Suited To Long-Term Performance Check
Thermally broken aluminium, double glazing Slim frame profiles, good durability, and a relatively light structure. Thermal performance depends on the complete lantern and glazing specification. Confirm that the roof structure and upstand can carry the unit. Install on a level, sound curb and follow the specified roof pitch, fixing, and weather-sealing details. Clean glass and frame with mild soapy water. Check seals, drainage channels, and fixings at least once a year. Many standard home extensions where a balanced combination of daylight, appearance, and durability is wanted. Check the declared whole-unit U-value, condensation guidance, and availability of replacement seals or glazing components.
Thermally broken aluminium, triple glazing Can improve heat retention and reduce cold internal surfaces compared with a similar double-glazed configuration. Usually heavier and may cost more. Have the installer verify structural capacity, glazing support, and compatibility with the roof build-up. Use the specified lifting and handling method. Use the same gentle cleaning routine as for double glazing. Inspect internal and external seals, especially after severe weather. Heated spaces where improved thermal comfort is a priority and the roof structure can support the additional weight. Compare whole-unit performance figures rather than glass-only figures; confirm that ventilation and room humidity are managed appropriately.
Timber frame with external protective cladding Warm interior appearance and potentially strong thermal performance, depending on the frame, glazing, and detailing. External cladding helps shield the timber. Keep timber components dry during installation and maintain continuous, compatible weatherproofing at the curb and roof membrane junction. Inspect the interior timber finish and exterior cladding annually. Repair damaged coatings or seals promptly in line with the system instructions. Projects where an interior timber finish is desired, provided the owner is prepared for periodic inspection. Look for signs of moisture, coating damage, or movement around joints; address water ingress early.
Polycarbonate or other lightweight glazed lantern Low weight and impact-resistant glazing options are available. Light transmission and sound insulation vary by panel construction. Check the panel system’s permitted spans, fixing details, expansion allowances, and compatibility with the roof membrane. Clean with a soft cloth and a cleaner approved for the glazing material. Avoid abrasive pads and solvents unless expressly permitted. Projects where low weight or impact resistance is important and the chosen panel’s appearance and acoustic performance are suitable. Check for panel movement, loose fixings, surface deterioration, and blocked drainage paths; follow the material-specific cleaning guidance.
Low-profile or conservation-style lantern Can provide a subtler roofline or a traditional appearance. Sightlines, daylight, and thermal performance depend on the design and glazing area. Confirm planning requirements where applicable, the intended finished roof height, and the correct interface with the roof covering. Keep drainage routes clear and check perimeter flashings, seals, and fixings during the annual roof inspection. Extensions where roof height, external appearance, or a particular architectural style is a key consideration. Verify that the installed height, opening method, ventilation provision, and declared performance match the project specification.
Selection note: There is no single best lantern for every flat roof. Compare complete-unit thermal performance, glazing safety specification, structural requirements, ventilation options, warranty conditions, and installation details. Values and maintenance needs vary by design; follow the selected system’s instructions and applicable local building regulations.

Before you go

Leave your projects details, and one of our team will reach out to answer any questions you may have